Quick Start: Issue Your First Credential
Create a sample Certificate of Attendance (CoA) in minutes with a single API call and your API token.
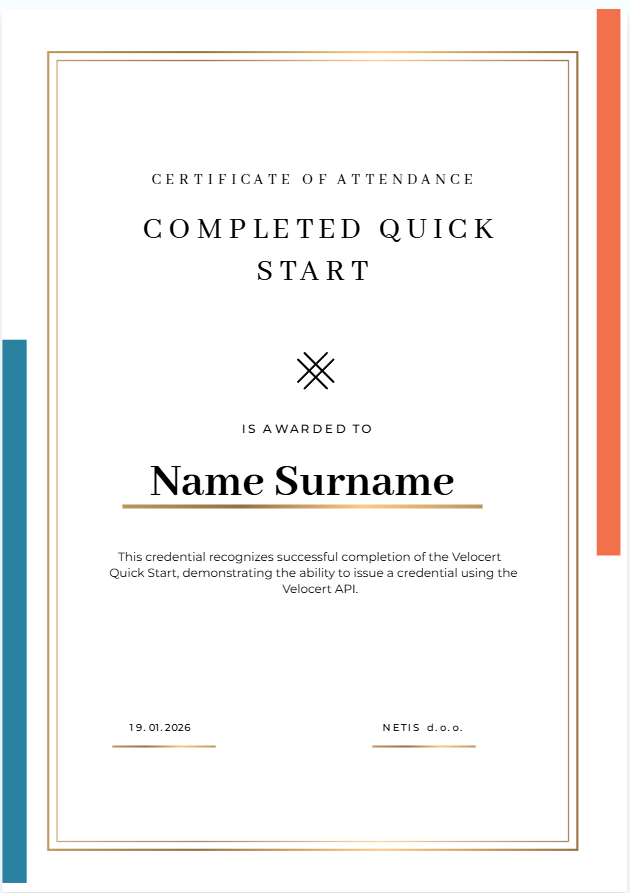
Here’s an example of what the issued credential looks like:
1. Create an API token
To authenticate requests to the Velocert API, you must first create an API token. This token is used to identify and authorize your application when making API calls.
Generate an API token in the Velocert platform under Settings → API Tokens. Once the token is created, copy it and store it securely. For security reasons, the token is displayed only once and cannot be retrieved later.
2. Issue a credential
With your API token ready, you can now issue a Certificate of Attendance (CoA) using the Create Credential API. This request creates and delivers the credential to the recipient in a single step.
Include your API token in the Authorization header as a Bearer token, and submit the credential type ID along with the recipient’s details in the request body.
POSThttps://app.velocert.com/api/v1/plugin/credential-types/:credentialType/credentialsCURL
1curl -X POST "https://app.velocert.com/api/v1/plugin/credential-types/:credentialType/credentials" \2-H "Accept: application/json" \3-H "Content-Type: application/json" \4-d '{5 "recipients": [6 {7 "email": "user@example.com",8 "credential": {9 "credentialSubject": {10 "fullName": {11 "en": "John Doe"12 }13 }14 }15 }16 ]17}'A successful response confirms that the credential has been issued. The recipient receives the credential by email, where it can be viewed and verified.
What’s next
You’ve successfully issued your first credential with the Velocert API using a predefined template.
If you want, you can issue credentials programmatically using your own workflows by following the Issuing credentials guide, customize credentials to fit your needs in the Guides section, or explore the APIs for detailed information about each endpoint and request parameters.