Manage Credential Fields
This section gives you full control over what information is displayed on your credentials and whether it is standardised across all recipients or personalised for each individual. Using Manage Fields, you can tailor the credential content to match your organisation’s requirements and maintain consistent presentation across all issued credentials.
To customise the information displayed on a credential, start by navigating to Issue Credentials, selecting a template, and clicking Use Template. The CoA (Certificate of Attendance) template is referenced throughout this guide to illustrate how credential fields can be configured.
1. Field Types and Behaviour
All available input fields are shown in the left-hand panel. Some fields, like Credential Title, Achievement Title, and Awarding Statement, are editable and will have the same value across all credentials issued from this template. Other fields, such as Full Name, appear grayed out with the note: Variable – Input data in next step. This indicates that the value for this field will differ for each recipient.
To control which information is the same for all recipients and which is variable, click the Manage fields button.
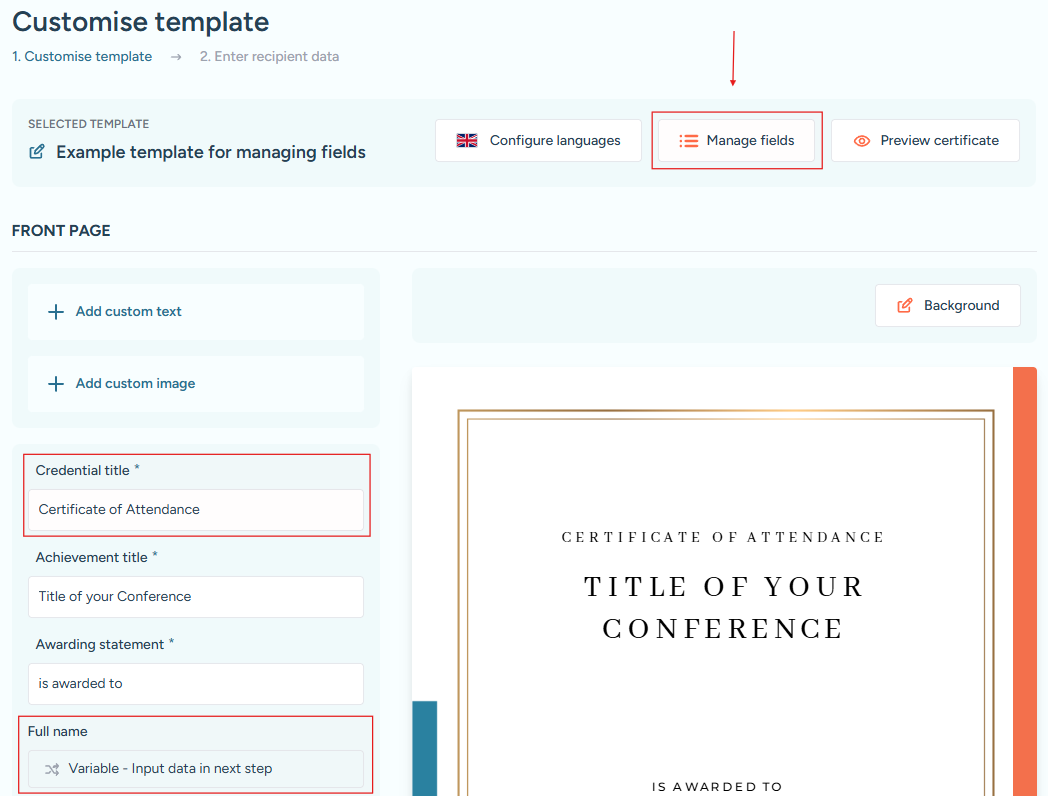
The Manage fields button, along with examples of editable fields and disabled fields marked as variable input.
2. Manage Fields Modal
Inside the Manage Fields modal, you can choose how each piece of information behaves:
- Same for all recipients: Enables the field in the credential builder. The value entered here will appear in all credentials issued from this template.
- Variable: The field will be populated individually for each recipient in the Enter recipient data step.
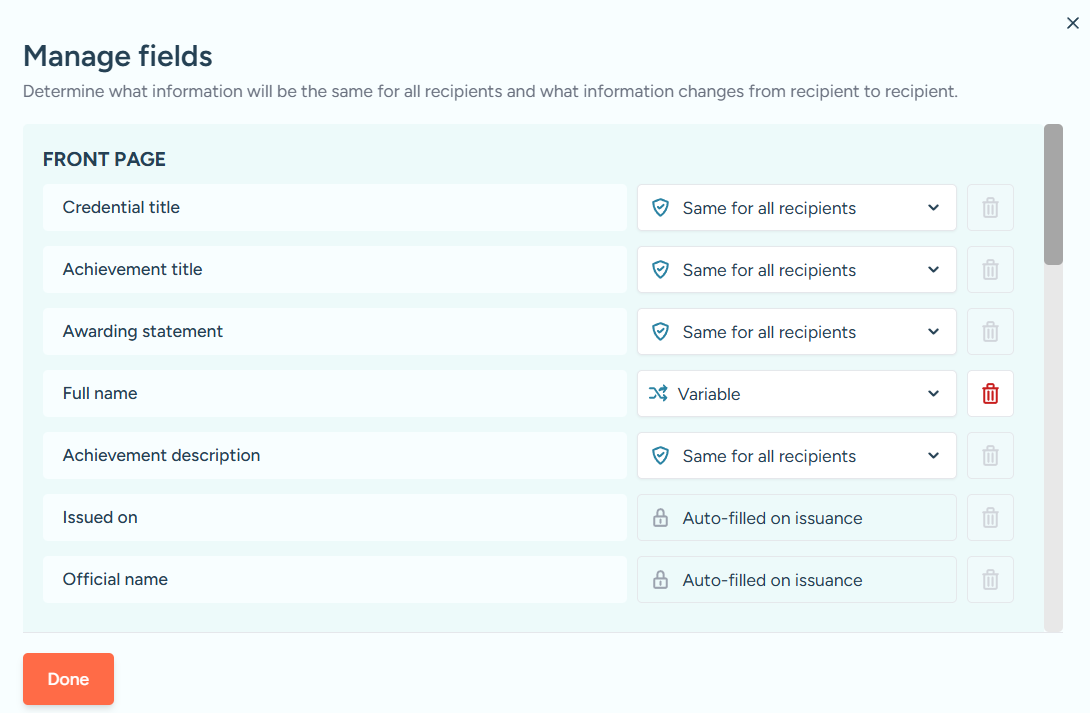
Manage Fields modal showing options to set fields as the same for all recipients or variable per recipient.
You can remove fields from the credential’s visual display by clicking the Trash Bin icon. Removed fields won’t appear on the credential itself but will remain in the metadata, and they can be restored from the list at the bottom of the modal.
To revert all changes to the template defaults, use the Restore default settings button. When you’re finished, click Done to save and close the modal.